
How to Create YouTube API Key and Client ID
A simple guide on how to create YouTube API key and Client ID using YouTube Data API v3 to a Google Cloud Platform project and generate OAuth credentials to use in WordPress plugin Super Social Content Locker.
What is YouTube API Key?
YouTube Data API is an instrument that allows developers all around the world to effectively work with the YouTube data and create their own apps based on it. Google YouTube API works with a quota to guarantee that developers use the service properly and do not create any app that makes service quality worse or limits access for others. All API requests, including invalid requests, cost at least a one-point quota.
YouTube Data API key gives wide opportunities for interacting with YouTube content:
- Collect information about specific channels
- Get an access to videos and playlists
- Explore views, descriptions, comments, likes and dislikes
Stage I – How To Create YouTube API Key
Step 1: Create a New Project on Google APIs
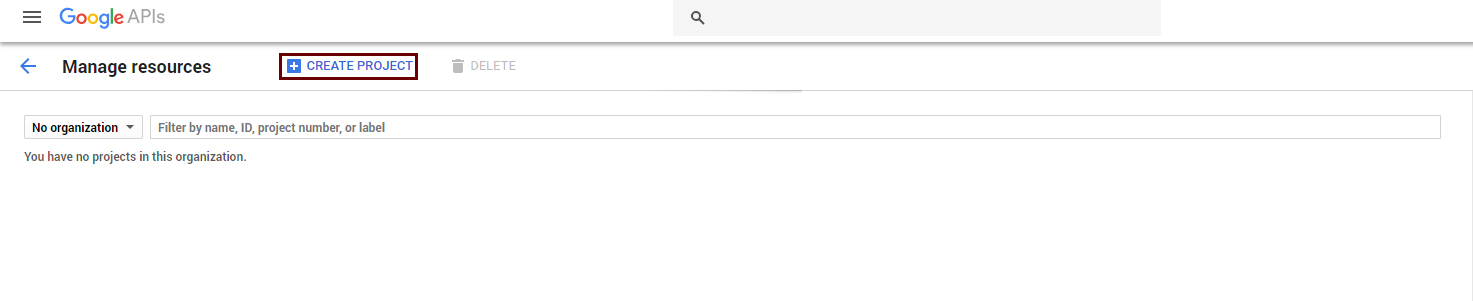
If you have a google account, go here: https://console.developers.google.com/project
From there, click on “Create Project”.
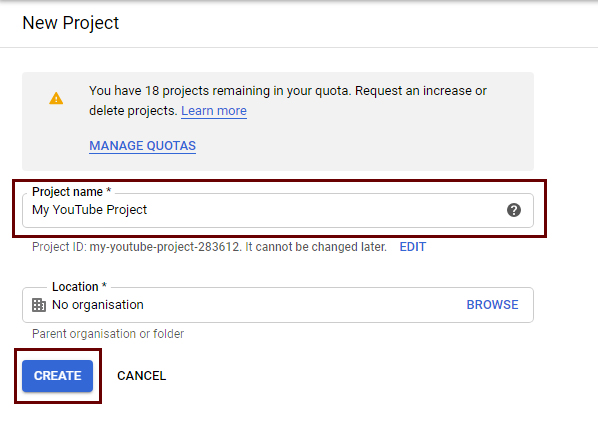
Enter in a name for the project, then click on “Create”.
Step 2: Go to YouTube APIs
Once the project is created, click on the Google APIs link at the top-left corner, select “Library” and click on YouTube Data API v3 by scroll down the page with finding YouTube Data API v3 box Or by searching on search box. Once opened, click on the Enable button.
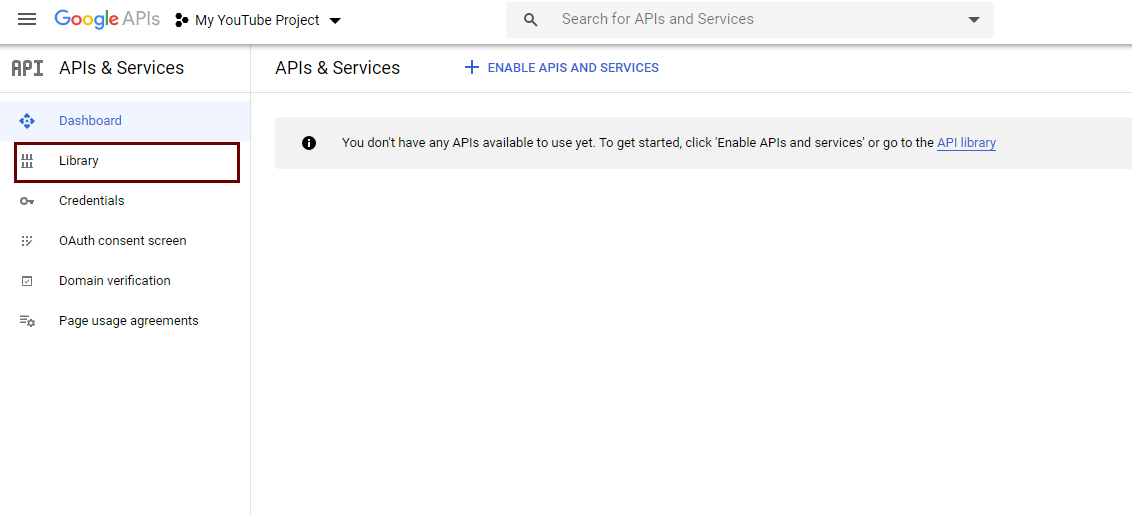
Image: 2.1
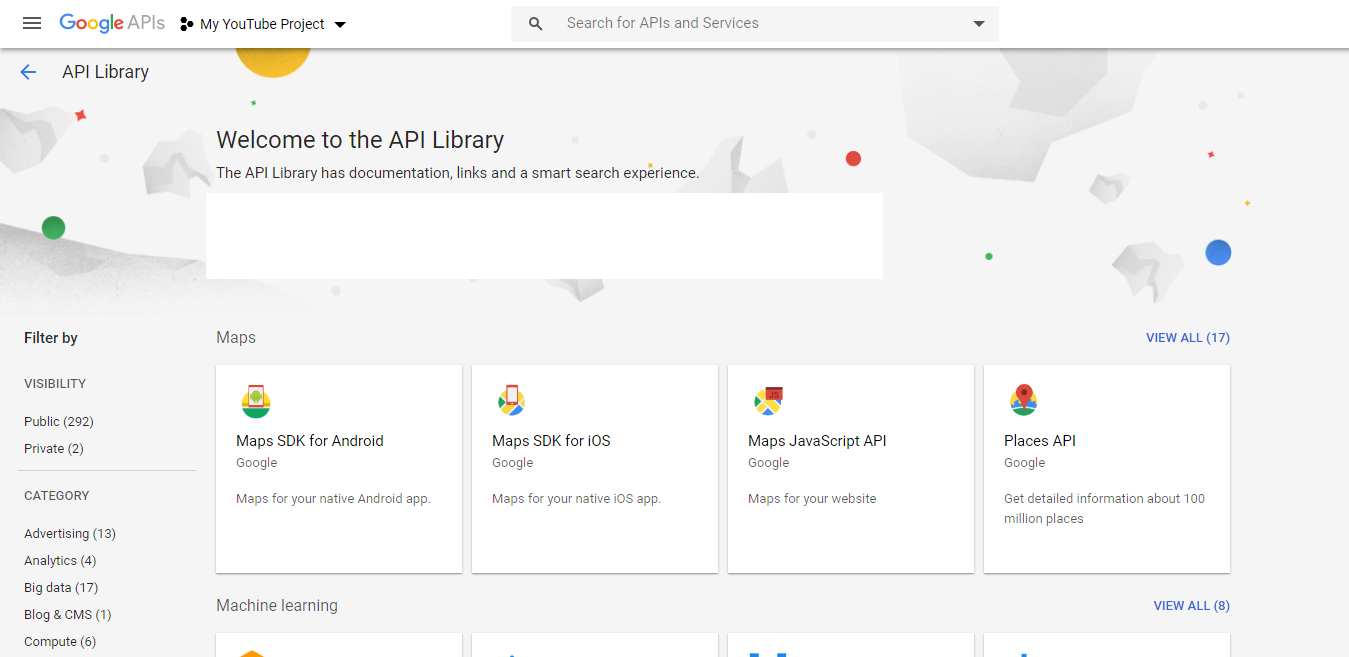
Image: 2.2
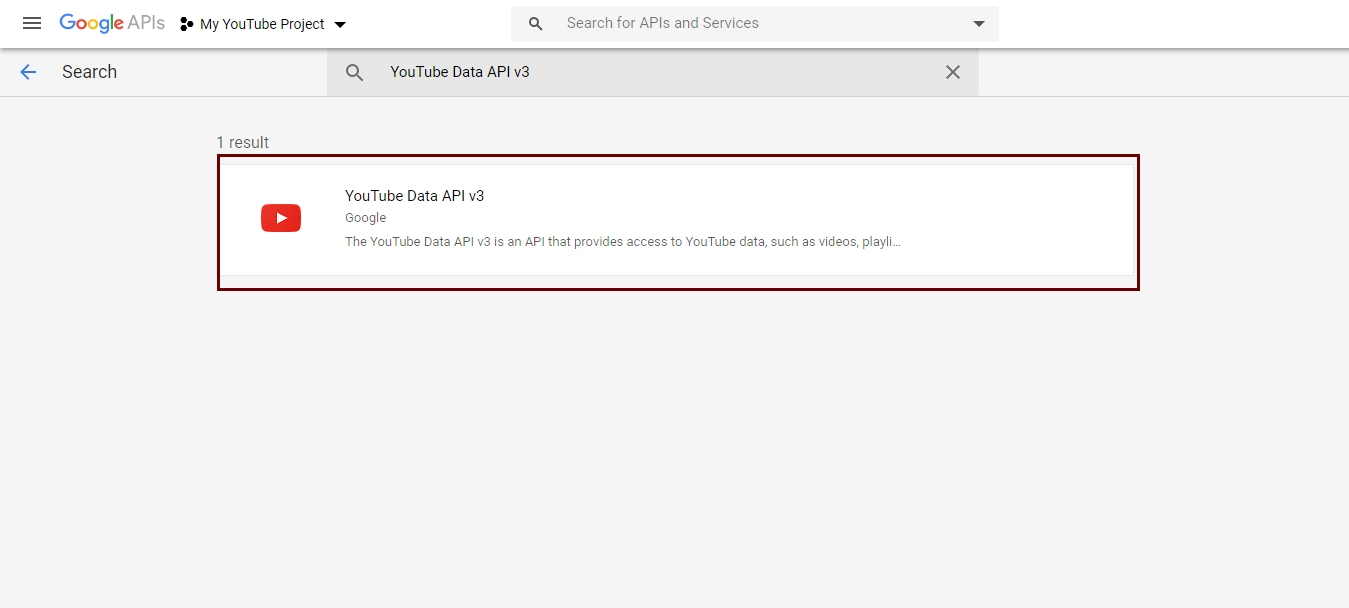
Image: 2.3
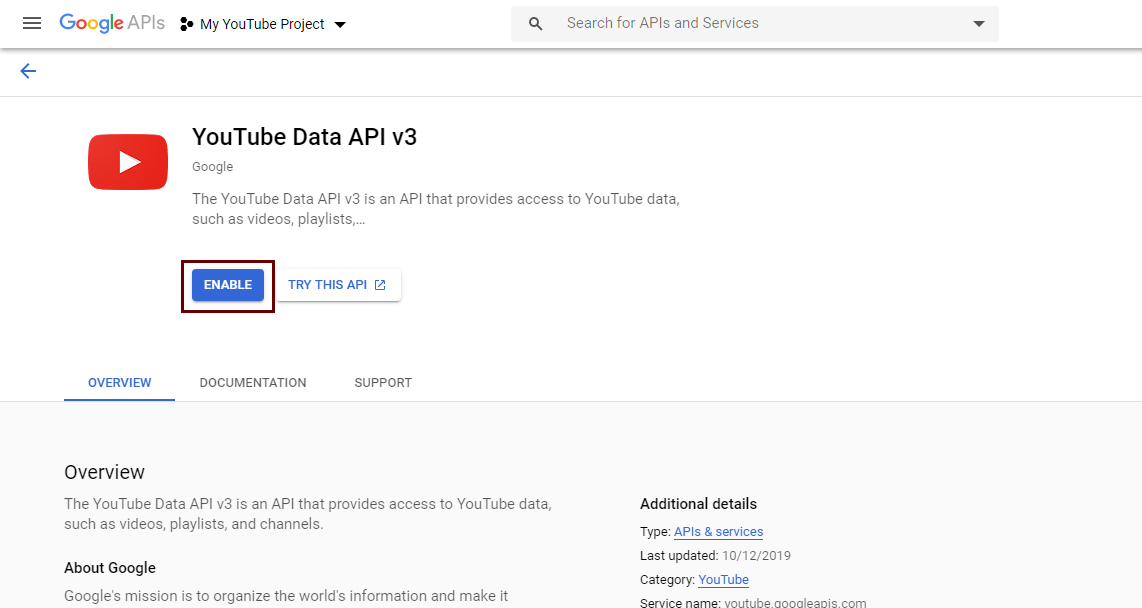
Image: 2.4
Step 3: Create Credentials
Credentials need to be created before you can use the API, so click on “Credentials” at the top-left corner then click on Create Credentials link then in drop-down click on API Key Link.
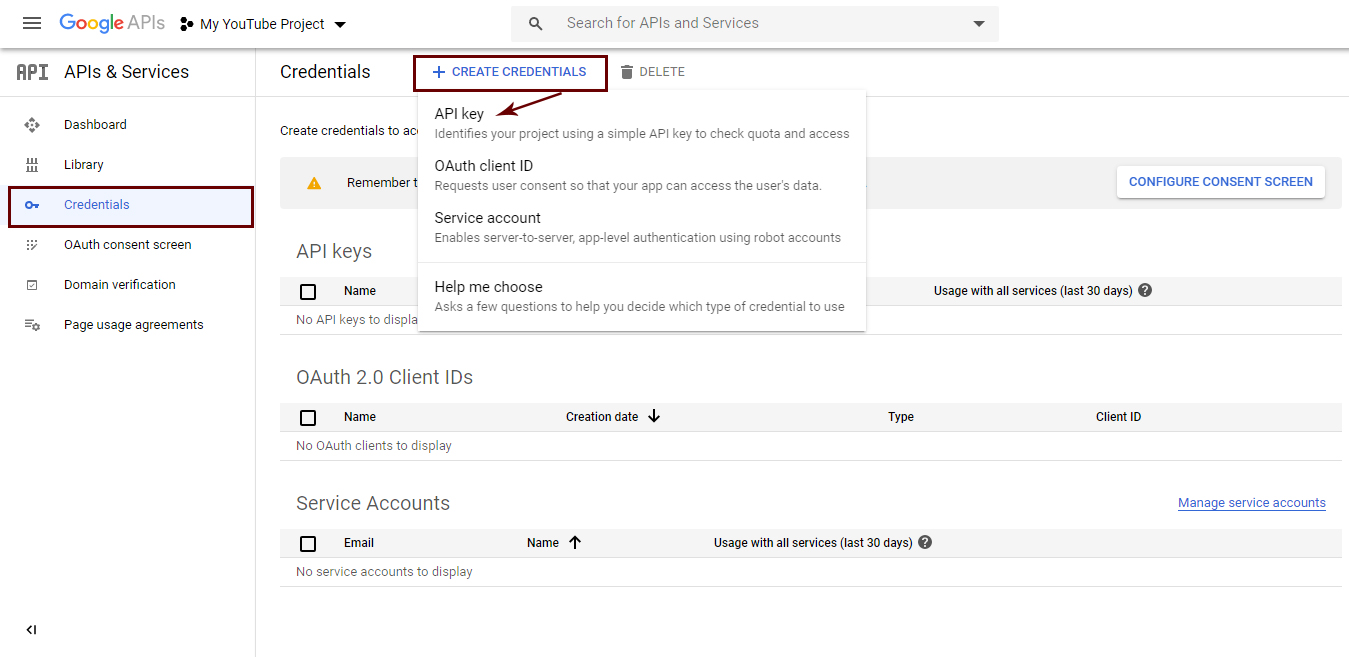
image: 3.1
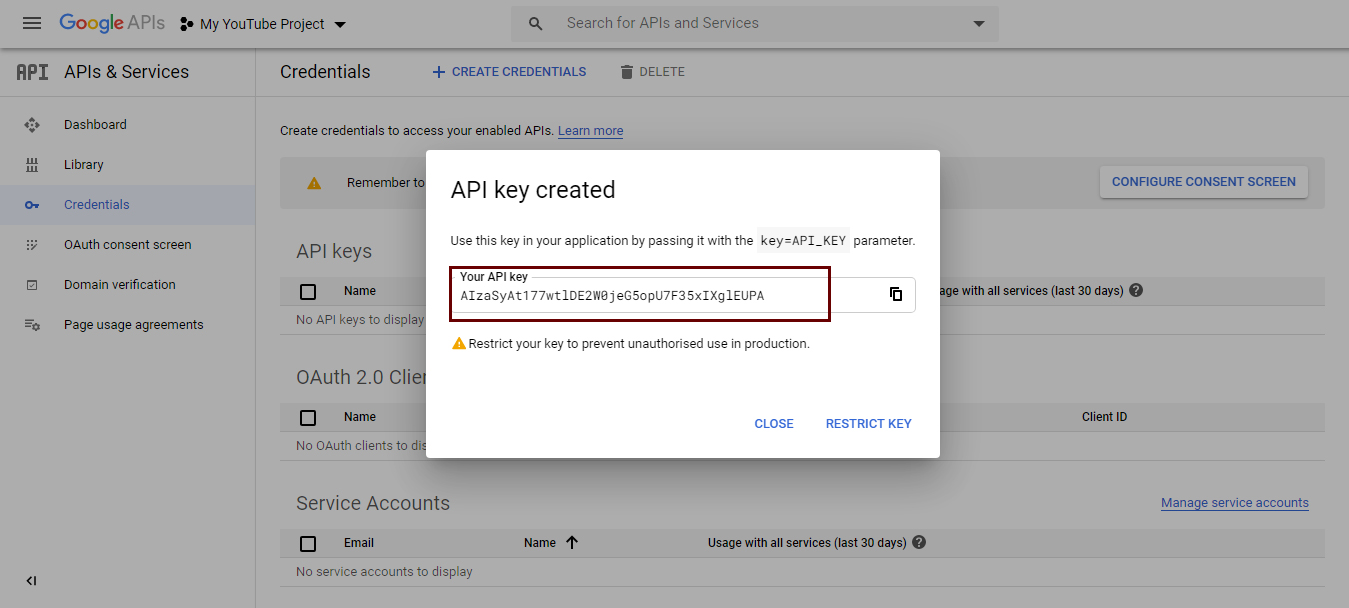
image: 3.2
It will create a API key which you can copy and paste as per needed.
Stage 2: How To Create YouTube Client ID
Step 4: Create Credentials as in Step 3
click on “Credentials” at the top-left corner then click on Create Credentials link then in drop-down click on OAuth Client ID Link.
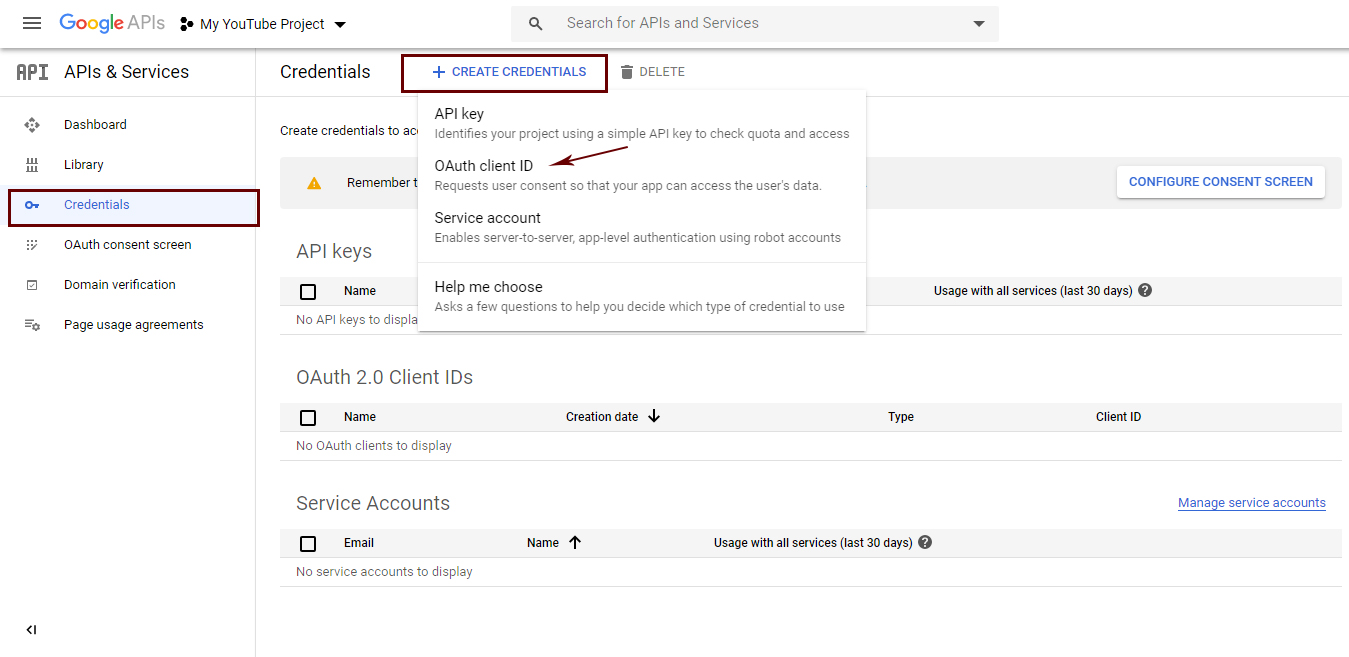
Image: 4.1
In screen for creating OAuth client ID you will notice that everything is frozen and you are required to configure consent screen. Click on “Configure consent screen“.
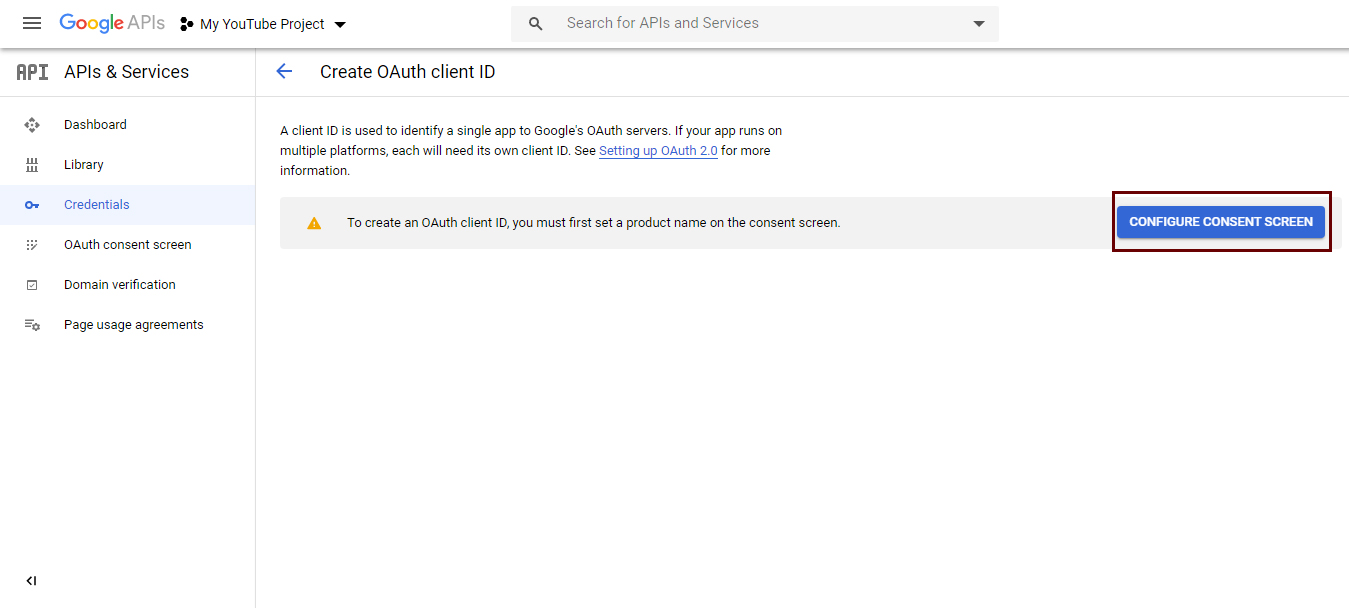
Image: 4.2
When you click on “Configure consent screen“ it will open another screen where you have to select external option and click Create button.
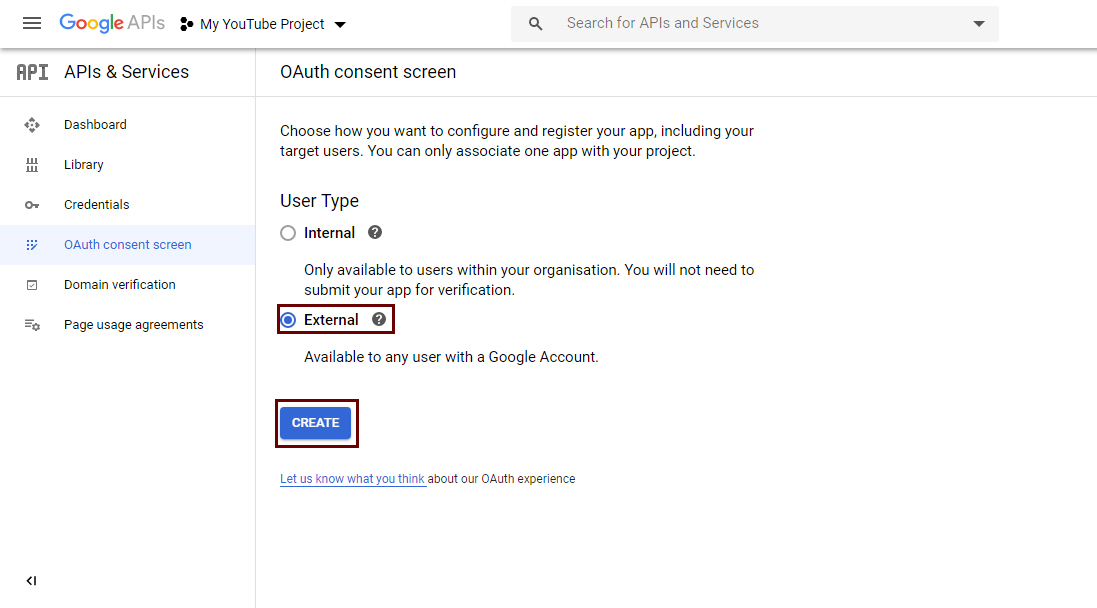
Image: 4.3
In Consent screen configuration enter a name for your application in field “Application name” and save the settings.
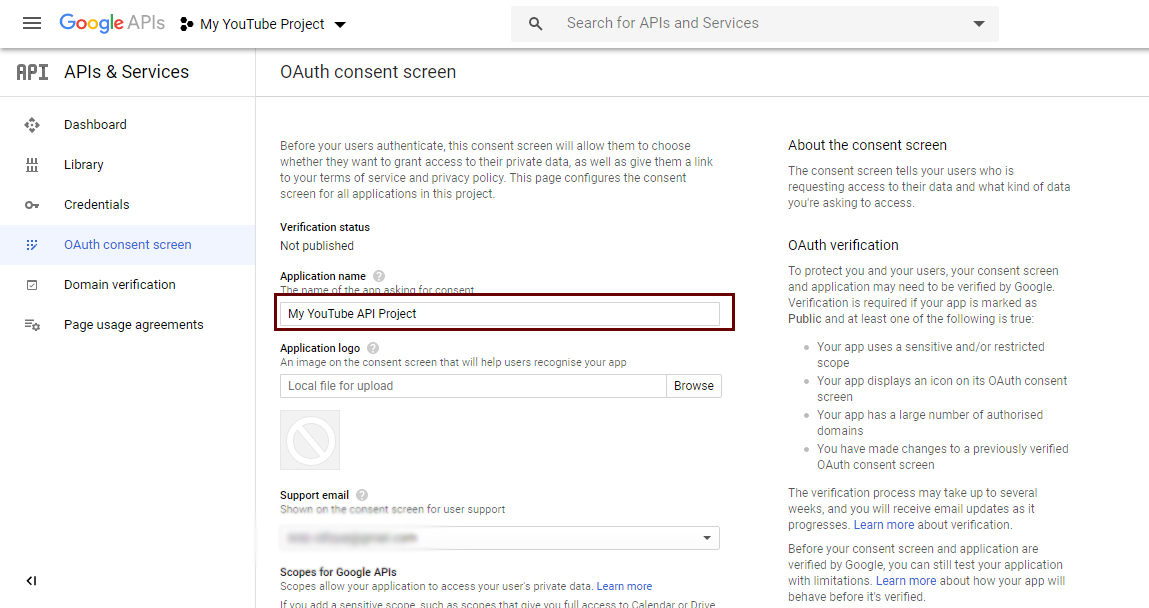
Image: 4.4
After creating the consent screen click on “Credentials” in left menu and click “Create credentials” in page. This will open a menu, choose “OAuth client ID“.
Google will then generate a OAuth Client ID for you. Now just copy the code from the field and used as per needed.
Happy using!